Run a Test
Lets walk through the easy way to build and run tests.
Startup
- Bringup the robot
(Teach Pendant) Turn on the robot, get into _manual_ mode, then load the “EXTERNAL_CONTROL.urp” program.
(Teach Pendant) Start the robot (tap the small red dot on the bottom left corner)
- Start Armstron
(Host Computer) Choose “Armstron” from your application menu (Super + A).
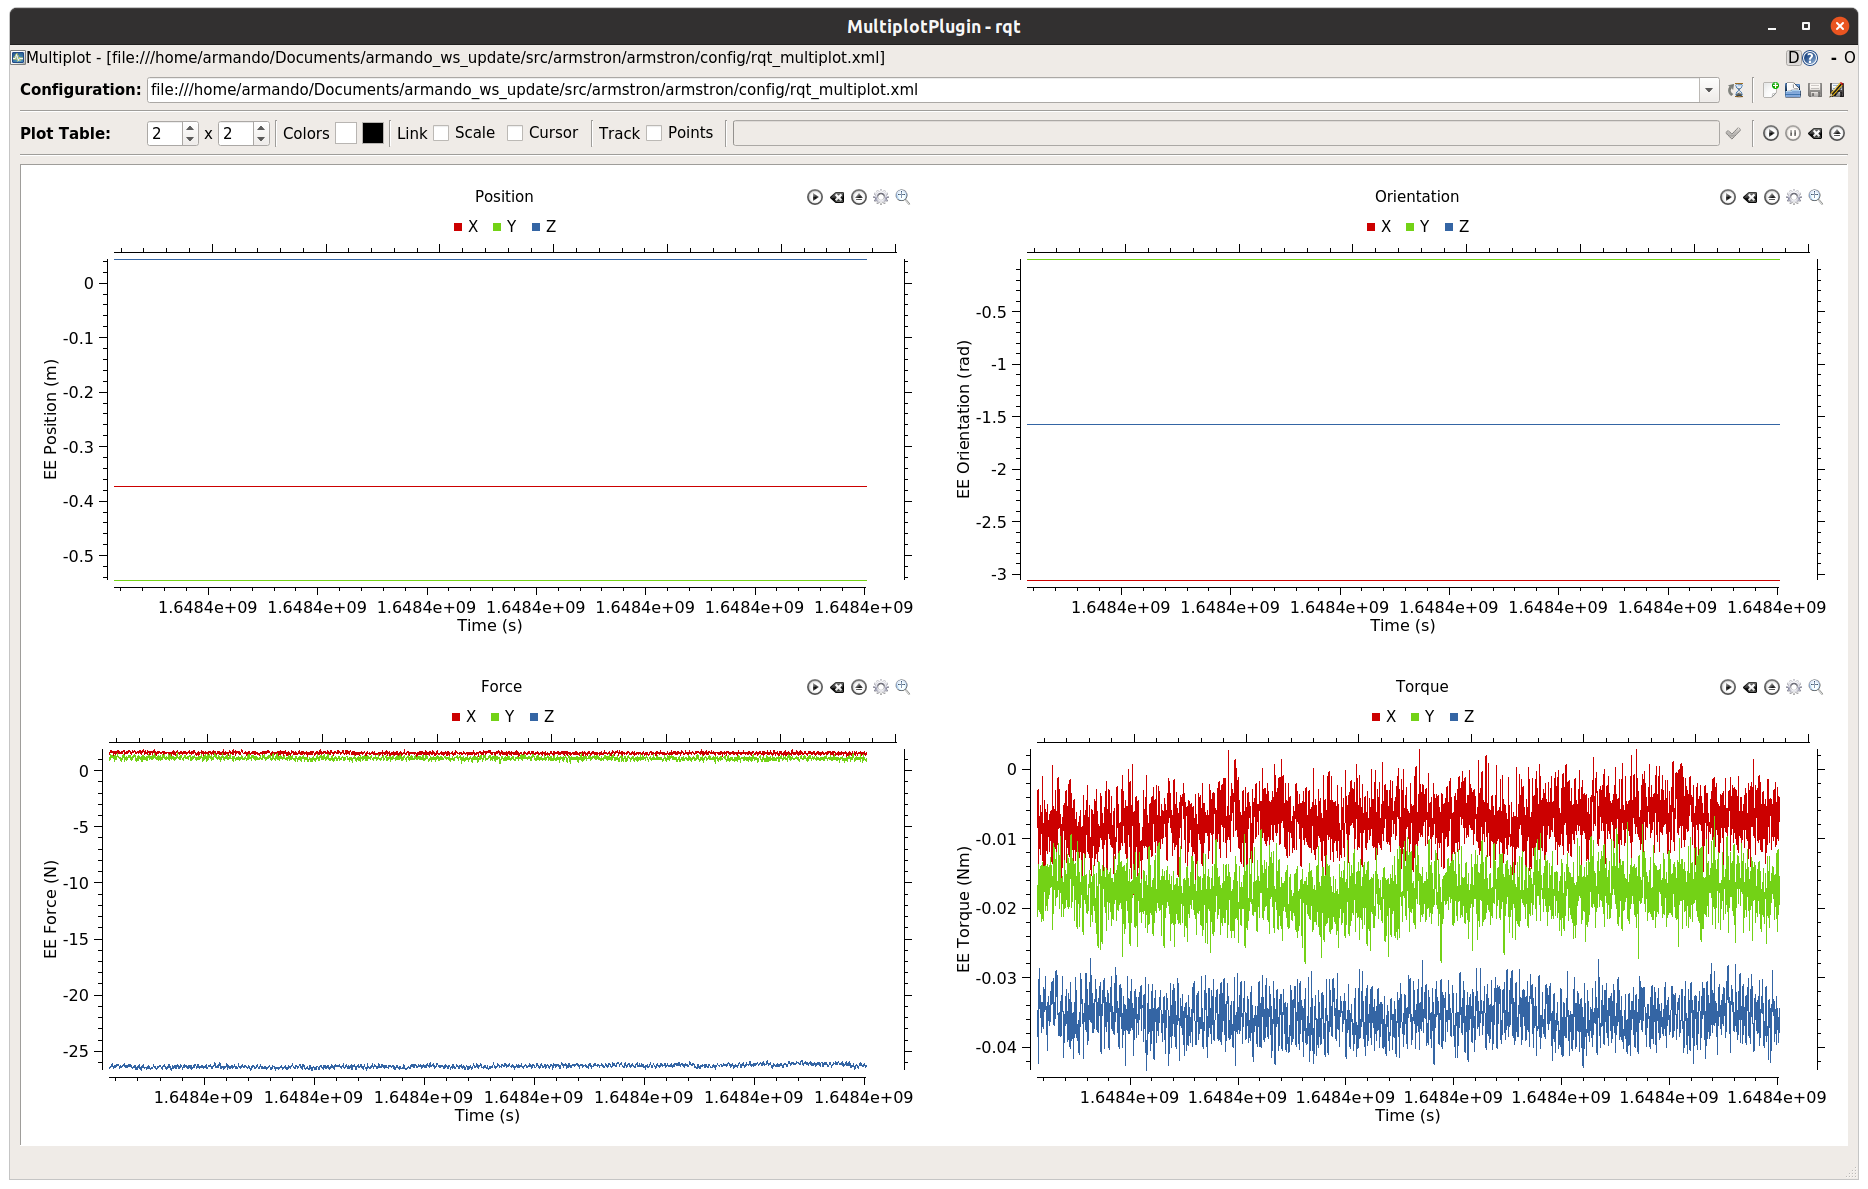
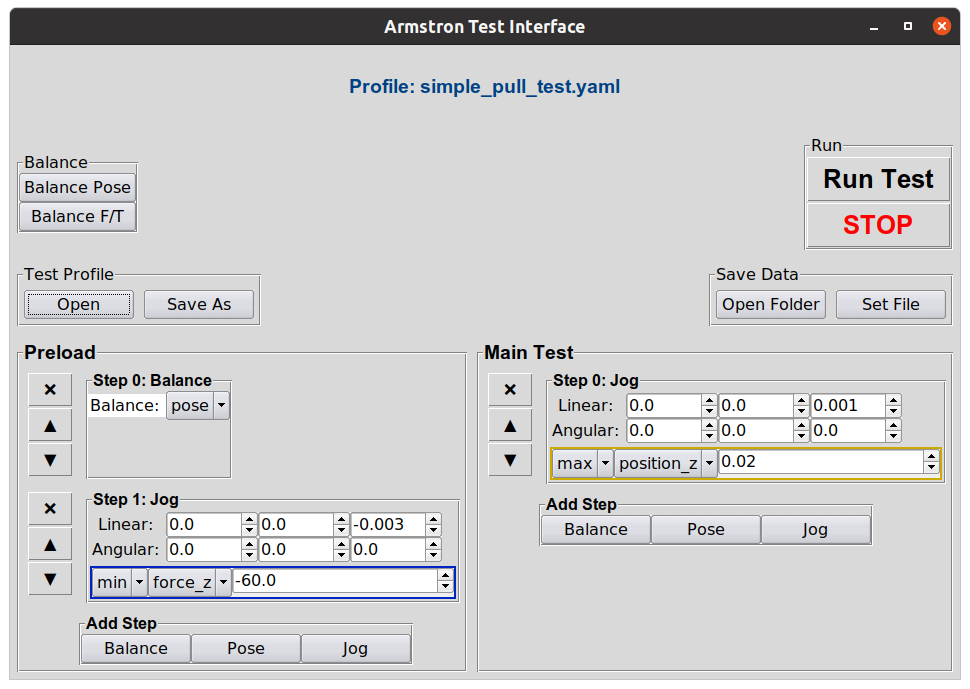
Now the Armstron GUI and a live graph will open:

Build a Test Profile
Click the “Load” button and choose an existing profile
Use the ▲ and ▼ buttons to move a step up or down
Use the ❌ button to remove a step
Add a step with the “add step” buttons.
Run a Test
(Teach Pendant) Move the arm around manually to set things up.
(Teach Pendant) Once you are ready to test, run the “EXTERNAL_CONTROL.urp” program. (press “play” in the bottom bar)
(Host Computer) Choose where to save data with the “Set File” button.
(Host Computer) Run a test using the “Run Test” button.
(Host Computer) Abort a test using the “STOP” button. Note: Data is saved continuously during tests, so your data is safe even if a test gets aborted.
Note
Savefile names are auto-incremented to prevent overwriting of data, so you only need to set the filename once.
Important
Don’t forget to run the “EXTERNAL_CONTROL.urp” program before running tests! It’s easy to forget, so let this note serve as a reminder.
Happy Testing!
This is all you really need to know to use the Armstron. If you are interested in doing more-advanced things, keep reading in Manual Testing section